An 8-bit dungeon-crawl adventure

SHARDS OFAZURMERE

Roll four-sided dice, explore four dungeons, outwit their bosses and gather the three Prism Shards before the Hollow King swallows the light for good.

  • Free
  • Plays in your browser
  • Keyboard or touch
  • Saves automatically
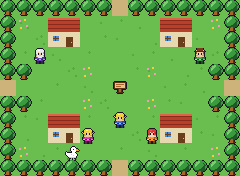
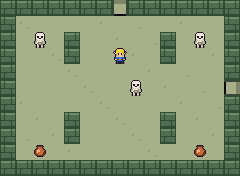
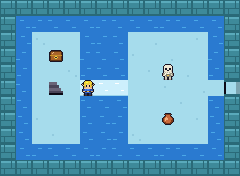
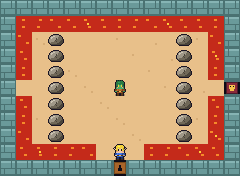
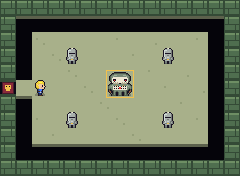
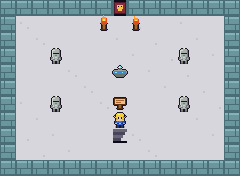
Wrenwick Village: cottages, villagers, a duck and a signpost on the village green Pillar Hall: three skeletons lurk among stone pillars Frozen Reach: an ice bridge frozen across deep water toward a chest and a stair Rubble Hall: boulders and rivers of lava in the Ember Grotto The Bone Warden boss looms in its crypt, ringed by pits
Wrenwick Village · Overworld

The world

One village. Four dungeons. Dozens of rooms.

Start in Wrenwick, then pick your way through a mossy crypt, a flooded tower and a cavern of lava before you can break into the Azure Keep. Every dungeon has its own tool to find, its own puzzles and its own boss.

Wrenwick Village
WRENWICK VILLAGEThe shop, a dice-gambler and an elder who knows what’s gone wrong.
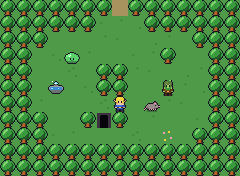
Gloomhollow Woods with a pixie fountain and the Barrow entrance
GLOOMHOLLOW WOODSA pixie fountain, a mushroom picker and the way into the Hollow Barrow.
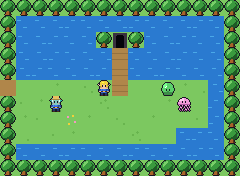
Mirrorwater Shore with a plank bridge to the Mere Spire
MIRRORWATER SHOREA plank bridge out to the Mere Spire, with jellyfish on the beach.
Pillar Hall in the Hollow Barrow
HOLLOW BARROWSkeletons hide behind the pillars and ambush you when you come close.
Frozen Reach in the Mere Spire
MERE SPIREFreeze ice bridges with the Frost Wand to reach what’s across the water.
Rubble Hall in the Ember Grotto
EMBER GROTTOSmash boulders and bomb cracked walls. Don’t step in the lava.
The Last Landing in the Azure Keep
AZURE KEEPSealed behind a barrier until you carry all three Prism Shards.
The Bone Warden boss
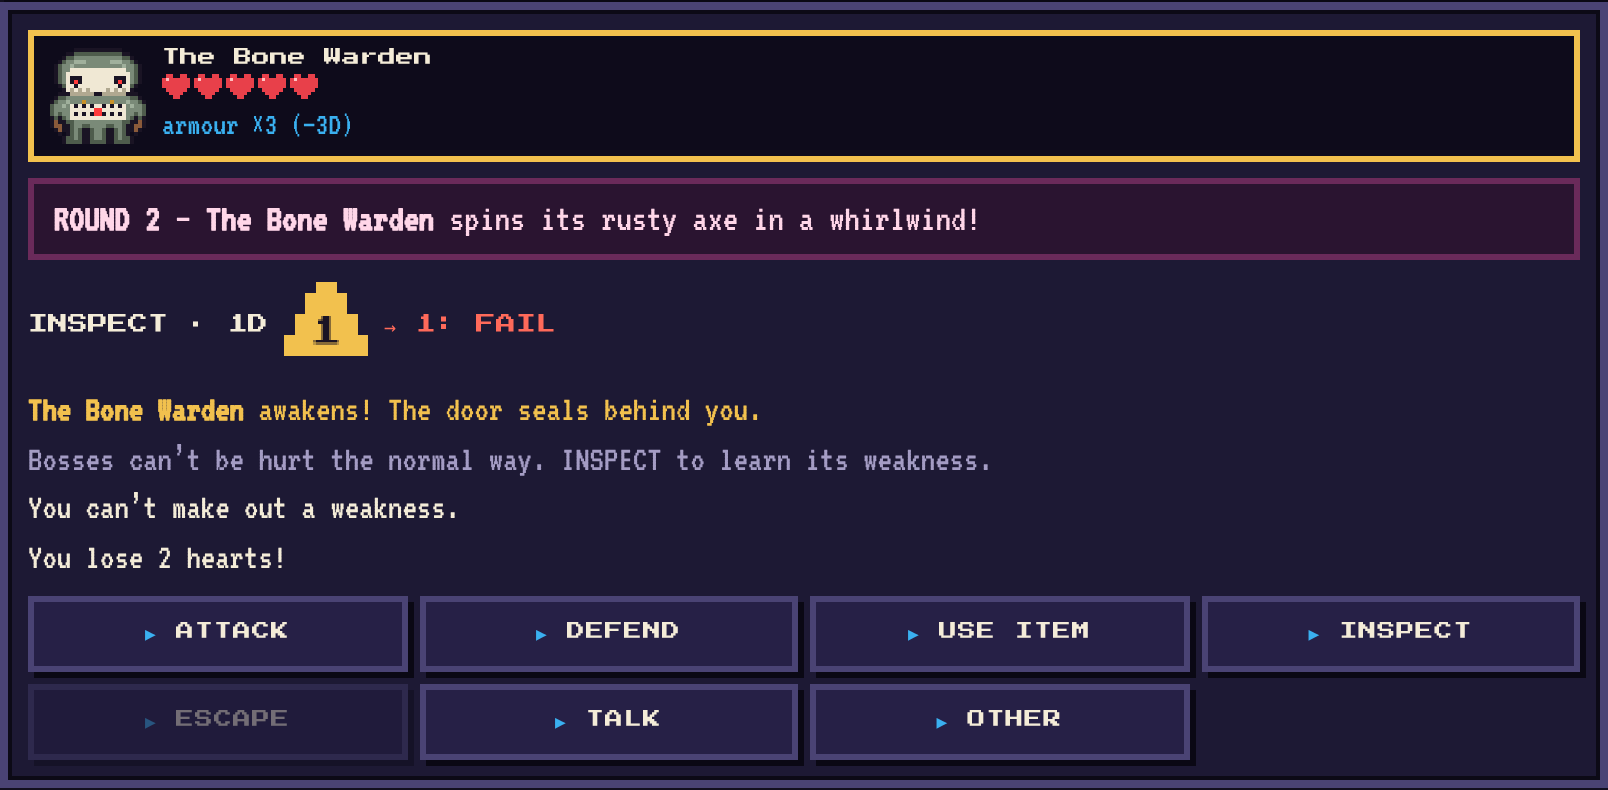
THE BONE WARDENBosses shrug off normal hits. Inspect them to learn the trick.

How it plays

Roll a handful of d4s. Keep the highest.

When you act under pressure you roll one four-sided die for each point in the attribute that fits, Power, Nerve or Wits, and only your best die counts. One roll decides what happens to you and the monster.

  • 1–2You fail. In a fight, you lose a heart.
  • 3You succeed, but it costs you a heart (unless you were defending).
  • 4A clean success. Every extra 4 is an extra hit.

▶ ATTACK ▶ DEFEND ▶ USE ITEM ▶ INSPECT ▶ ESCAPE ▶ TALK ▶ OTHER

A battle against the Bone Warden: an Inspect roll of 4 and 2 keeps the lowest and fails, and the seven action buttons wait below
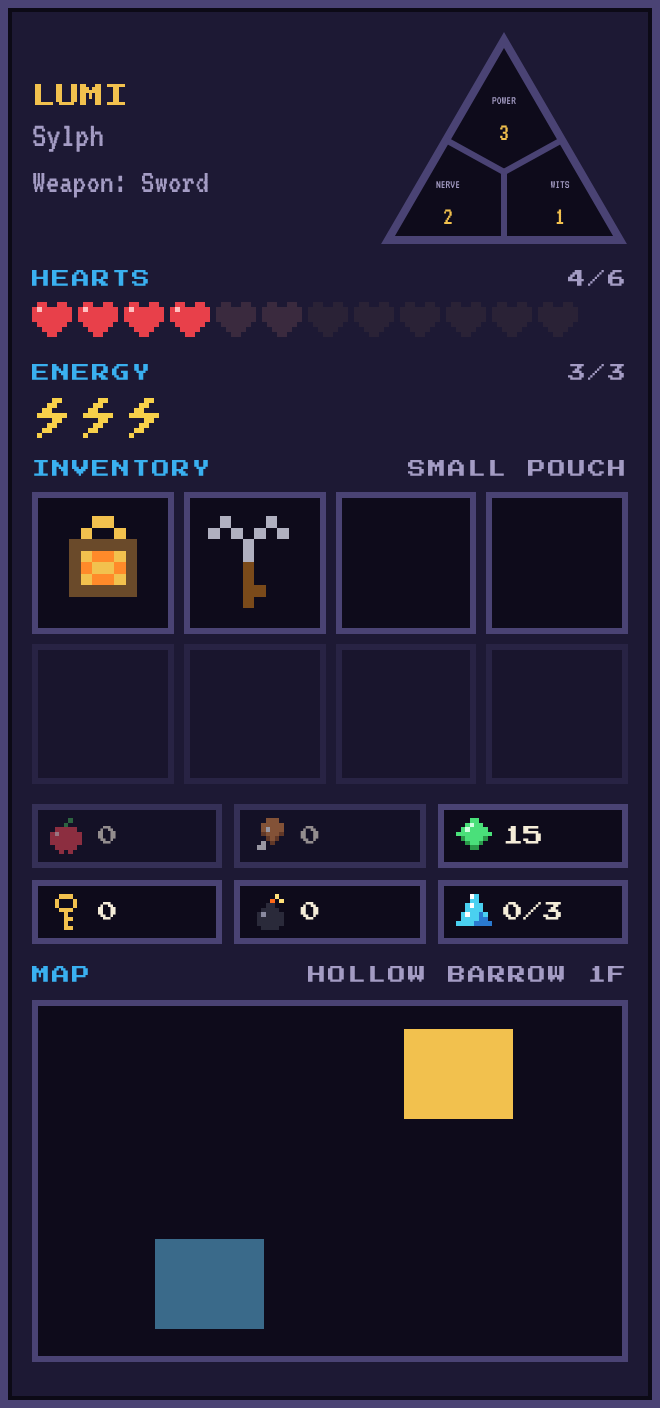
The hero sheet: attribute triangle, hearts, energy, inventory pouch, food, gems, keys, bombs and shards

Your hero

Fill in your hero sheet

Choose a kin, split 3, 2 and 1 between your attributes, pick a starting item (lantern, bow, boomerang or magic cape) and your colours. Every kin plays differently.

  • SYLPHFocus for an extra die.
  • SKYLINGGlide over pits and lava.
  • STONEBORNShrug off a lost heart.
  • TIDEKINSwim deep water.
  • SPRIGLINGVanish out of a fight.
  • GLITCHLINGReroll a bad die.

Credits

Who made this

ORIGINAL TABLETOP GAME

Heroes of Cerulea

Writing & game design
Lucas Falk
Illustrations
Ronja Melin, Caz Wolf, Lucas Falk
Editing
Alf Peter Malmberg, Walton Wood
Publisher
Bläckfisk Publishing · blackfiskpublishing.com

The dice rules, actions, kin and items in this game are adapted from Heroes of Cerulea, a tabletop role-playing game. Pick up the original to play it around a table with friends.

WEB VERSION

Shards of Azurmere

Created by
Marcus Draper
Website
www.deskatur.com

A single-player browser adaptation with its own world, names, maps, story and pixel art.

The Prism won’t fix itself.

▶ Start your adventure